I still remember the day Sangonomiya Kokomi first arrived on the shores of Inazuma. The Electro Archon’s banner was just around the corner, and the general sentiment was that the Divine Priestess of Watatsumi Island would quickly be forgotten. This couldn’t have been further from the truth. Through multiple patches, new reactions, and the ever-shifting meta of 2026, Kokomi has cemented herself as one of the most versatile and resilient characters I’ve ever invested in. Whether I need a reliable healer, a tenacious on-field driver, or even a surprise DPS, Kokomi’s kit adapts with elegance. Her value has only grown with time, especially with the introduction of Dendro and the sheer number of team compositions that demand both survival and steady Hydro application. If you are wondering how to build her to her full potential, I am sharing everything I have learned from countless experiments, spiral abyss clears, and theorycrafting sessions.
When I first started building Kokomi, I was overwhelmed by the artifact choices. It quickly became clear that her role determines the set. Her damage, healing, and even utility all scale with her Max HP, and she can genuinely fill multiple roles on a single team. Over time, I have settled on a few artifact configurations that truly make her shine.
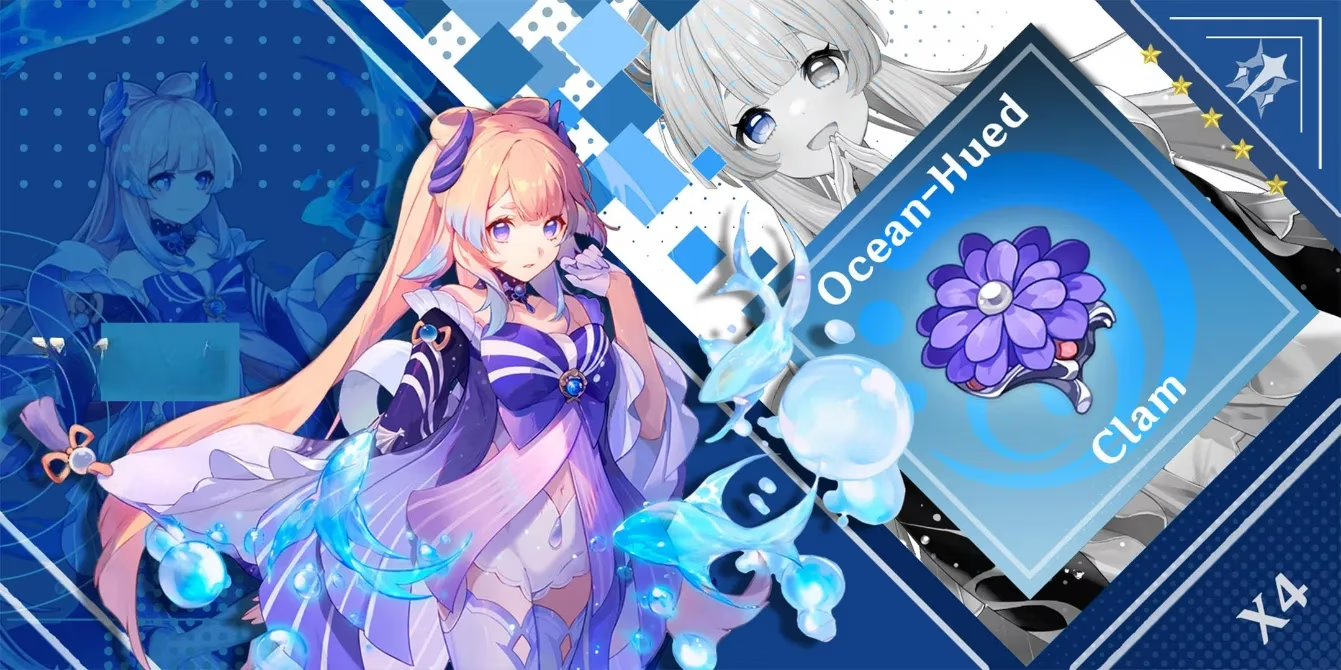
Ocean-Hued Clam is, without a doubt, the artifact set that made me fall in love with Kokomi all over again. The 2-piece bonus adds a healing bonus, but the real magic is the 4-piece effect. Every time she heals, the set accumulates that healing over three seconds and then unleashes a burst of physical damage in a small AoE. I’ve seen this bubble exceed 25,000 damage without any direct investment into offensive stats. The AoE is compact, so I always position Kokomi close to grouped enemies. What I find most satisfying is that this set never forces me to choose between healing and damage—I get both simultaneously. For players who don’t have a full Ocean-Hued Clam set yet, Heart of Depth remains a solid temporary option. It boosts her Hydro damage substantially, and while it doesn’t offer the same hybrid value, it works well in mono-Hydro or Electro-Charged teams until the clam pieces are acquired.
In teams where Kokomi rarely takes the field, Tenacity of the Millelith has been my go-to. Hitting an opponent with her Elemental Skill triggers a 20% ATK buff for all nearby party members for three seconds. Since her jellyfish continuously pulses, I can maintain near-permanent uptime on that buff while also increasing the team’s shield strength. The 2-piece HP increase further amplifies her healing and personal damage. It turns Kokomi into a passive buffer who also keeps everyone alive. When Dendro reactions first arrived, I experimented with the Flower of Paradise Lost set. In pure Bloom teams, where Kokomi triggers the Dendro cores, this set dramatically increases Bloom damage. The difference is noticeable, and I have used it to great effect in Nilou Super Bloom compositions. I must admit I rarely recommend the Maiden Beloved set anymore—it over-heals without providing any offensive or utility benefit. In 2026, Kokomi’s value lies in her ability to multitask, and a dedicated healer set simply wastes her potential.
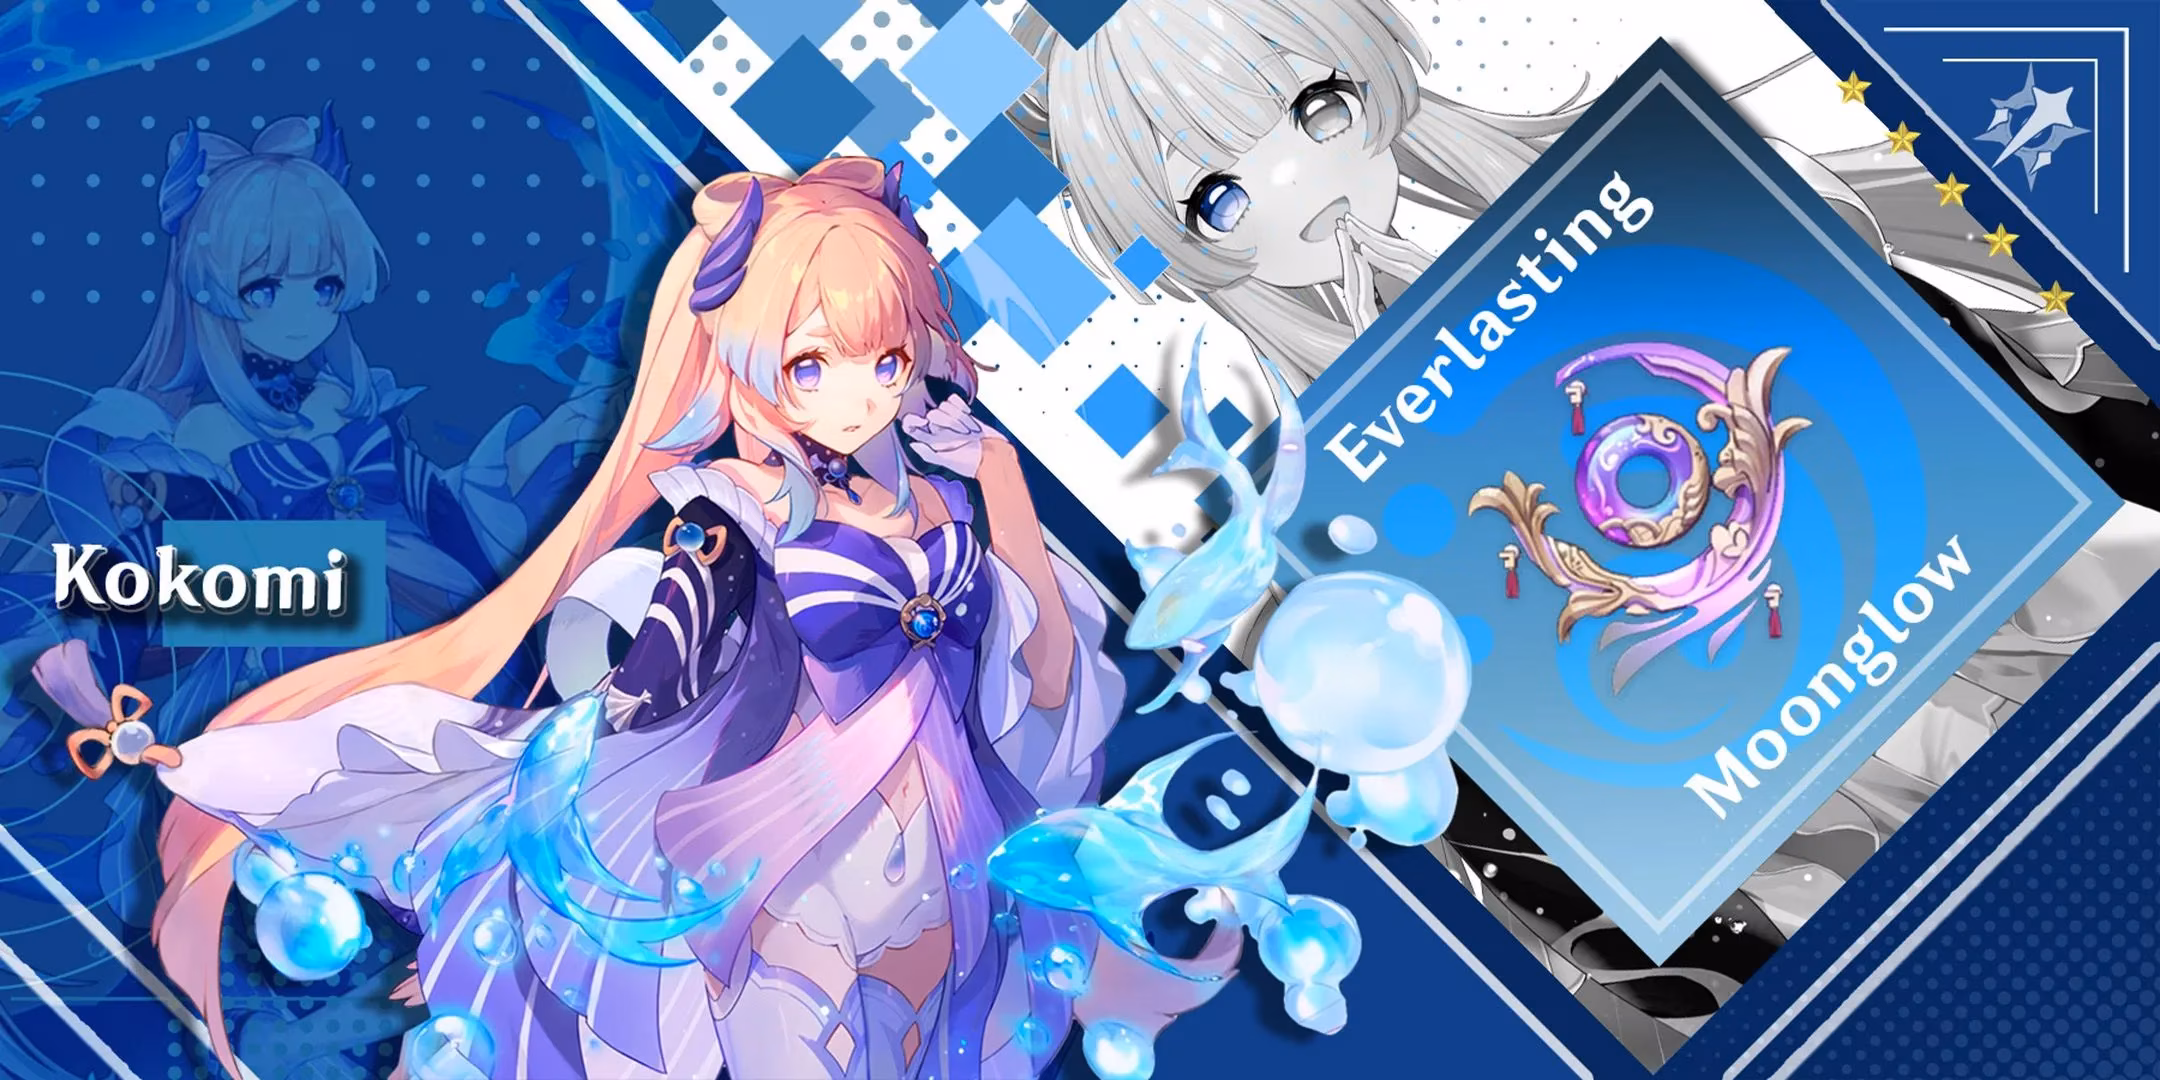
Weapon selection for Kokomi is surprisingly flexible. Her signature catalyst, Everlasting Moonglow, remains the premier choice if you want to maximize her personal performance. The HP sub-stat directly feeds into her scaling, and the passive boosts Healing Bonus, Normal Attack damage, and energy regeneration. I’ve found that with this weapon, she can almost permanently stay in her Burst state, chaining normal attacks that heal the entire party while dealing respectable damage. For those who, like me, can’t always pull for limited weapons, Prototype Amber is a phenomenal 4-star alternative. It provides HP, energy, and a small team-wide heal that synergizes perfectly with her kit. I crafted it early on and never regretted the investment.
More recently, the Ring of Yaxche has become one of my favorites for a DPS-focused build. It directly buffs Normal Attack damage based on Max HP, eschewing any complicated conditions. This catalyst turns Kokomi into a surprisingly effective on-field driver who still heals through her Burst. On the support side, Thrilling Tales of Dragon Slayers remains an evergreen 3-star option. The massive ATK buff it passes to the next character is invaluable, especially when paired with Tenacity of the Millelith for a double-buff setup. In Electro-Charged teams, I’ve had great success with the Hakushin Ring. As long as Kokomi triggers an Electro-Charged reaction, she provides both Hydro and Electro damage bonuses to the entire team, making her an enabler without sacrificing support power.
Talent priorities can feel confusing at first, so let me share what has worked for me. For a general build where Kokomi is expected to contribute damage and healing, I prioritize her Elemental Burst first. This talent strengthens her on-field stance, which increases all her damage and team-wide healing with every normal attack. Next, I level her Elemental Skill to boost the jellyfish’s healing and consistent Hydro application. Her Normal Attack is the last priority, as her Burst-enhanced attacks scale primarily with Burst talent levels. However, if I’m building Kokomi purely as an off-field healer and buffer, I sometimes leave her Normal Attack at level 1 and focus entirely on her Skill. For absolute maximum potential, I recommend triple-crowning her if resources allow—level 10 talents across the board make her nearly unstoppable in any role.
-
Normal Attack: 10
-
Elemental Skill: 10
-
Elemental Burst: 10
Looking at Kokomi in 2026, I can confidently say she has aged better than most units. New artifact sets, weapons, and team archetypes have only expanded her repertoire. Whether I’m running a Freeze team with Ayaka, a Taser squad with Fischl and Beidou, or a lush Bloom garden with Nahida, Kokomi fits in seamlessly. She represents the rare breed of character where comfort and meta relevance intersect gracefully. I hope this guide helps you find the same joy in her build that I have. The ocean’s blessing truly never fades.
Comments